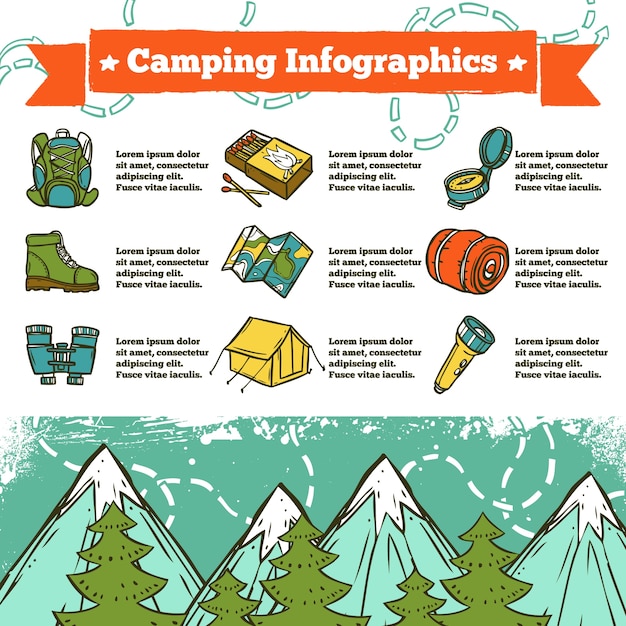
Setting up a wall surface camping tent structure rapidly is an essential element of glamping procedures. Rapid setup directly influences labor expenses and visitor experience.
The primary step is to outline the outdoor tents rafter sizes and the leg poles. Next, you'll attach the angle kits to create the roof area of your tent.
Pre-Assembly
The first step of a wall surface camping tent arrangement is inventorying and organizing your parts. This is likewise a great time to put down a ground tarp (optional).
When your framework is constructed, it's time for canvas draping. Whether you are utilizing a brand-new or pre-treated canvas, it is suggested that you reduce the camping tent size dimensions and rafters by 1% to permit shrinking.
This will certainly keep the textile from putting way too much stress on the zipper and joints. It is also an excellent idea to make use of flexible line tighteners for protecting individual lines. These are available from Beckel, together with the reflective guy-line rope collection and light weight aluminum tensioners that you'll need to use them.
This is one of the most labor-intensive part of the procedure, but the incentive is a beautiful weatherproof sanctuary that can deal with also the toughest winds and winter seasons. Currently you're ready to enjoy your backcountry experience.
Curtaining
Curtaining transforms the camping tent inside into a completed, memorable area. It conceals equipment and equipment, improves acoustics, and creates aesthetic pecking order. It likewise changes the perceived temperature, intimacy, and mood of an occasion.
Professional draping business supply proficiency, precision, and creativity to deliver smooth makeovers that line up with clients' visions and budgets. They advise beginning the procedure 3-6 months ahead of time to permit fabric selection, mockups, and supplier control. This assists capture installment or safety concerns early to keep the task on family tent track.
A standard wall tent framework comes with an angle kit, which sets up the ridge, eave, and leg poles. This set consists of 1-- 3/8" galvanized steel tubing (proprietary to Beckel wall surface camping tents) and 14" plywood reduced to the size of each rafter pole installation. You'll likewise need a set of adjustable line tighteners, like wooden dowels or electrical avenue, and nylon parachute rope for person lines. Be sure to think about the anticipated snow load and weather in your place when selecting these products.
Betting
Assembling a wall surface outdoor tents is hard work, so it pays to stake down your canvas walls. This aids to support your shelter in gusty conditions and lowers the risk of damages. It likewise assists stop persuading, which can make your canvas tent feel unpleasant and dangerous.
You can make use of common metal camping tent risks, or you can go with snow or sand stakes that are larger and have holes along their shaft to hold the ground much better. They are made for more challenging ground, and are typically made use of by wall surface camping tent proprietors in sand and snow areas.
Step the sizes of your rafter and camping tent leg areas to guarantee you have appropriate stakes. You must also subtract 1% from your rafter and camping tent size measurements for shrinkage on brand-new dealt with canvas tents. Ideally, the eave risks ought to be positioned 6-12" over ground. These can be any kind of size, depending upon your camping site. Some tent companies provide big nails/spikes with their tents for laying, yet these may be insufficient in windy conditions.
Tensioning
Utilizing the lines connected off at each eave and rafter, stretch out each man rope to produce desired tension. This guarantees that wind kept on the canvas can't tear the outdoor tents from the ground, and aids protect against blown-down eaves throughout tornados.
If you have a ground tarpaulin or removed floor, now is the time to lay it down and protect it (optional). If you're utilizing a wood stove this trip, likewise roll up your turf towel and safeguarded camping tent flooring.